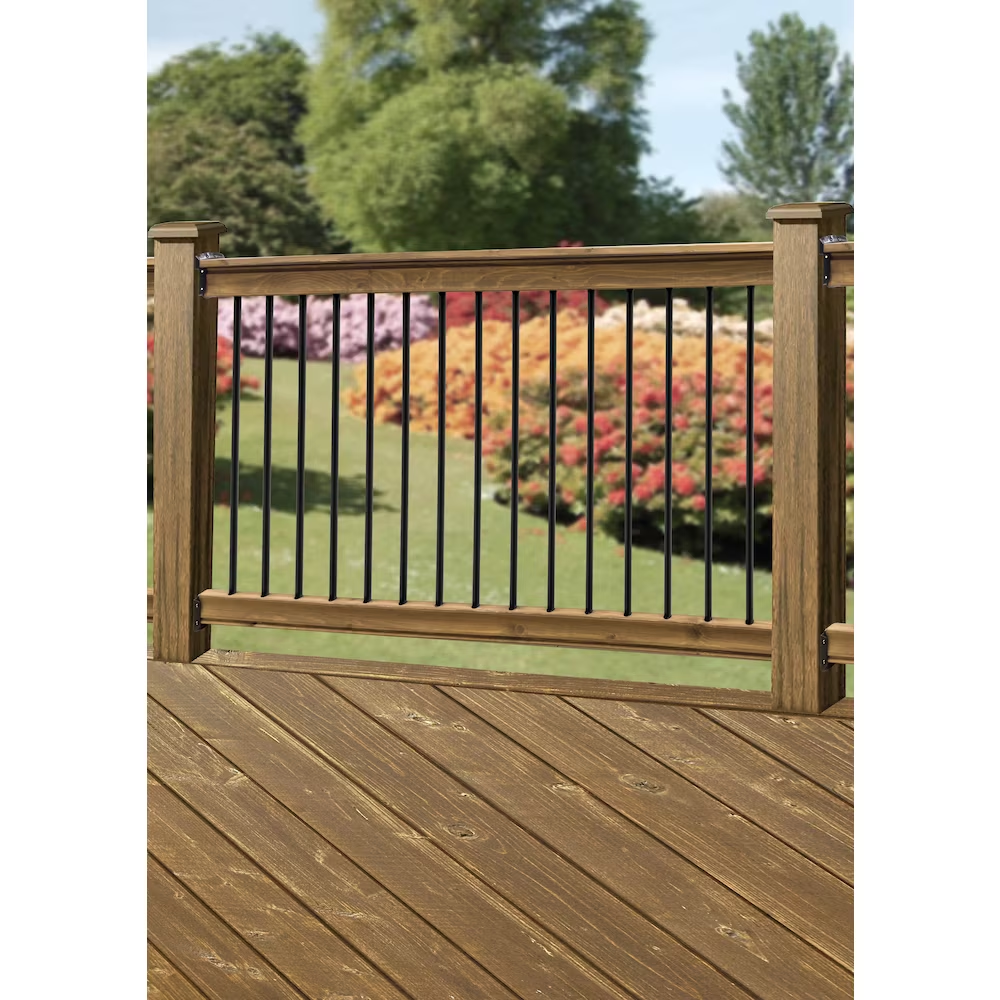


Wooden decks are popular outdoor features in many homes, offering a comfortable space to enjoy the outdoors, host gatherings, and relax with family and friends. However, constant exposure to the elements can take its toll, leading to wear and tear that requires attention. If your deck is showing signs of aging or damage, don't worry—many issues can be addressed with some DIY know-how and elbow grease. In this article, we'll guide you through the steps to repair your wooden deck and extend its life for years of enjoyment.
Before you dive into repairs, it's important to assess the extent of the damage. Here are some common issues that wooden decks face:
Over time, rain, snow, and sun can cause your wood to weather and even rot. This is particularly true if the deck is not properly sealed or if it's in a shady area that stays damp.
The natural expansion and contraction of wood can cause nails to become loose or pop up, which can be a hazard and also allows for more moisture to penetrate the wood.
Boards may crack or split due to pressure, weather, or simply age. It's essential to replace damaged boards to maintain the integrity of the deck's structure.
UV rays can fade and discolor your deck over time, while mold and mildew can also affect its appearance.
To ensure a successful repair, preparation is key. Here's how to get started:
Before you begin repairs, give your deck a thorough cleaning. Remove debris from between boards, and use a deck cleaner to remove mold, mildew, and graying. This will give you a clean surface to work with and reveal any hidden issues.
Carefully inspect your deck for any signs of damage. Pay attention to the ledger board, where the deck attaches to the house, as this is a common area for rot.
You'll need basic tools such as a hammer, pry bar, screwdriver, saw, and drills. You will also need replacement boards, nails or screws, wood filler, sandpaper, and sealant. It is much better if you use wood screws than nails!
With your deck clean and all your tools at hand, you're ready to start the repair process.
Identify any boards that are beyond repair and mark them. Remove the fasteners, lift out the old boards, and replace them with new lumber cut to the same size. Secure the new boards with deck screws rather than nails for a longer-lasting fix.
For loose nails, remove them and replace them with deck screws that are slightly longer and thicker for a tighter grip. If screws are loose, tighten them or replace them with larger ones if necessary.
Use wood filler to fill in any small cracks or holes in your boards. Once the filler has dried, sand down the area until it's smooth and flush with the rest of the deck.
Check the support beams and joists for any signs of damage or weakness. If necessary, reinforce them by adding additional supports or replacing damaged sections.
Once repairs are complete, sand down the deck to prepare it for finishing. Apply a high-quality sealant or stain to protect the wood and enhance its appearance.
To ensure your repairs stand the test of time, follow these tips:
When replacing boards, use pressure-treated lumber or hardwoods that are resistant to rot and insects.
Regular cleaning and resealing your deck every few years will protect it from the elements and prevent many common issues.
Ensure your deck has proper ventilation to avoid moisture buildup, which can lead to rot and decay.
Stainless steel or coated screws and bolts will resist corrosion and provide a stronger hold than nails.
If you're unsure about tackling deck repairs on your own, or if the damage is extensive, it's wise to seek professional help. Look for "wooden deck repair near me" to find experienced contractors who can assess the damage and provide a quality repair that will last.
To prevent small issues from becoming big problems, inspect your deck regularly for signs of damage. Look for loose boards, check the condition of the fasteners, and keep an eye out for any signs of rot or insect damage.
Repairing a wooden deck can seem daunting, but with the right approach, it's a manageable project that can greatly extend the life of your outdoor space. By staying on top of maintenance, choosing durable materials, and knowing when to call in the experts, you'll ensure your deck remains a safe and beautiful part of your home for years to come. Whether you take the DIY route or opt for professional assistance, timely repairs will keep your deck looking great and functioning well, providing the perfect setting for making memories outdoors. Now, if you want to have someone else fix your deck, maybe ask us.